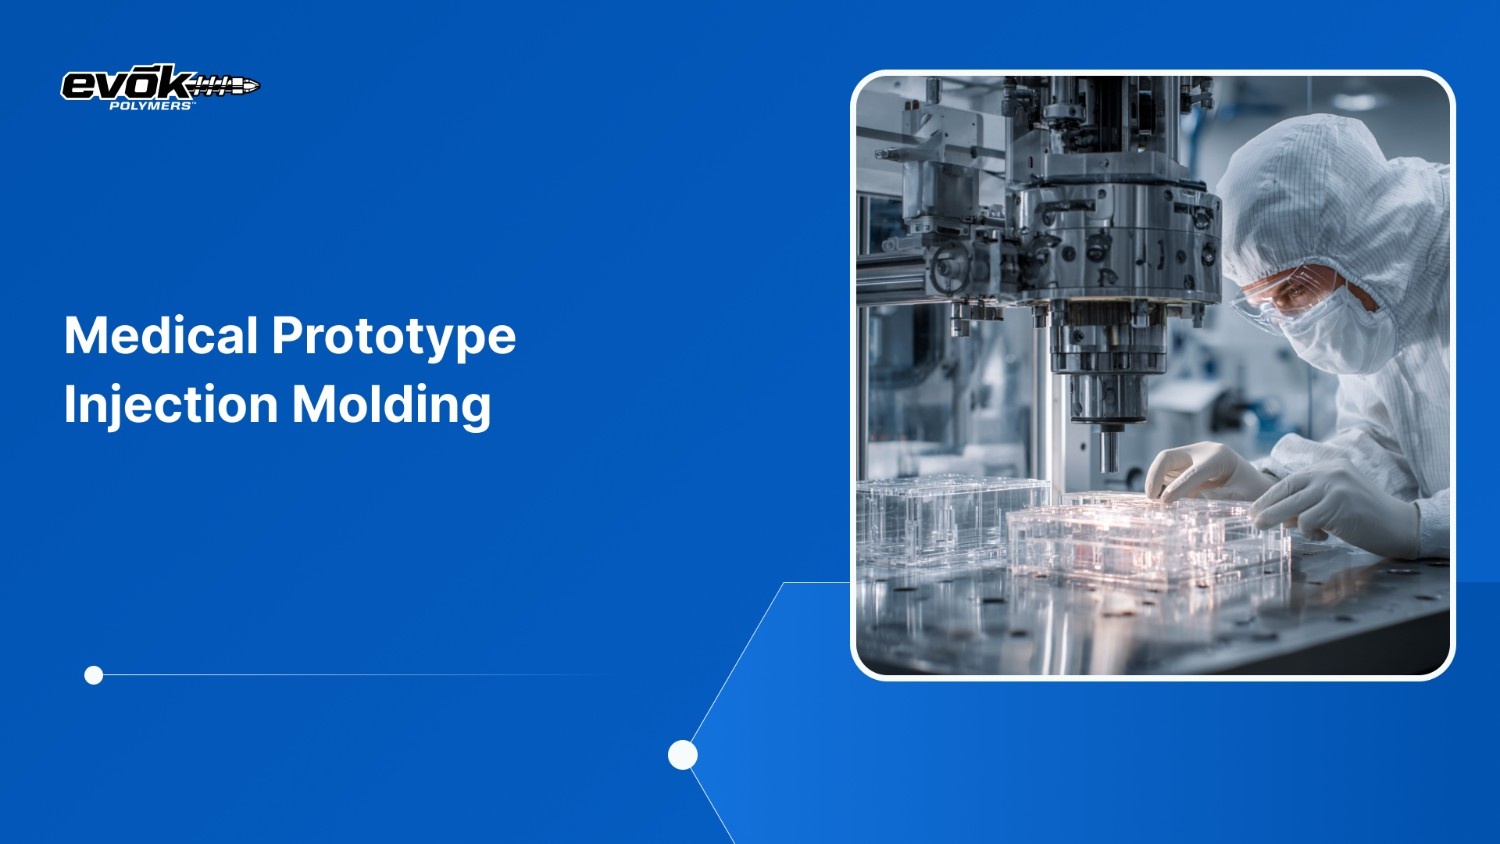
Medical device development today demands accuracy, consistency, and early validation. For engineers and product teams, the most critical challenge is turning a digital design into a physical component that performs reliably in real clinical conditions.
Medical prototype injection molding addresses this gap by enabling the production of functional prototypes using production-grade materials and processes, not just visual mockups.
By testing form, fit, and performance early, teams can uncover design flaws, material limitations, and assembly issues before full-scale manufacturing begins.
This approach reduces regulatory risk, shortens development cycles, and builds confidence that the final device will meet both technical and compliance requirements.
Key Takeaways
Utilizing actual medical-grade resins during the prototyping phase is essential for verifying biocompatibility and sterilization resistance.
Applying an injection molding design guide early in the process prevents costly changes when transitioning to high-volume production.
Molded prototypes allow for real-world mechanical testing that 3D-printed parts cannot replicate due to structural differences.
Early-stage molding provides the necessary data for design verification and validation, supporting a smoother path through federal oversight.
Advanced tooling strategies allow for the rapid creation of thousands of parts, enabling parallel paths for clinical testing and market evaluation.
The initial step in any successful project is understanding why this specific method is chosen over more traditional prototyping techniques.
Understanding Medical Prototype Injection Molding
Medical prototype injection molding focuses on producing trial components using temporary or bridge tooling that closely match the material behavior, structure, and performance of full-production parts.
While methods like 3D printing or CNC machining are useful in early design stages, they do not replicate the heat, pressure, and flow conditions of injection molding. As a result, they often fail to reveal issues related to shrinkage, stress, or long-term durability that are critical in medical applications.
Injection-molded prototypes behave like final production parts because they follow the same high-pressure molding process.
Medical-grade resins are melted, injected into precision cavities, and cooled under controlled conditions to achieve accurate molecular orientation and strength.
This approach allows teams to test sterilization resistance, chemical durability, and mechanical performance early, reducing risk before scaling to mass manufacturing.
Also Read: Building a Culture of Quality in Medical Manufacturing
To fully appreciate the value of this process, one must look at how it functions across various stages of the development lifecycle.
Role of Prototype Injection Molding in Device Development
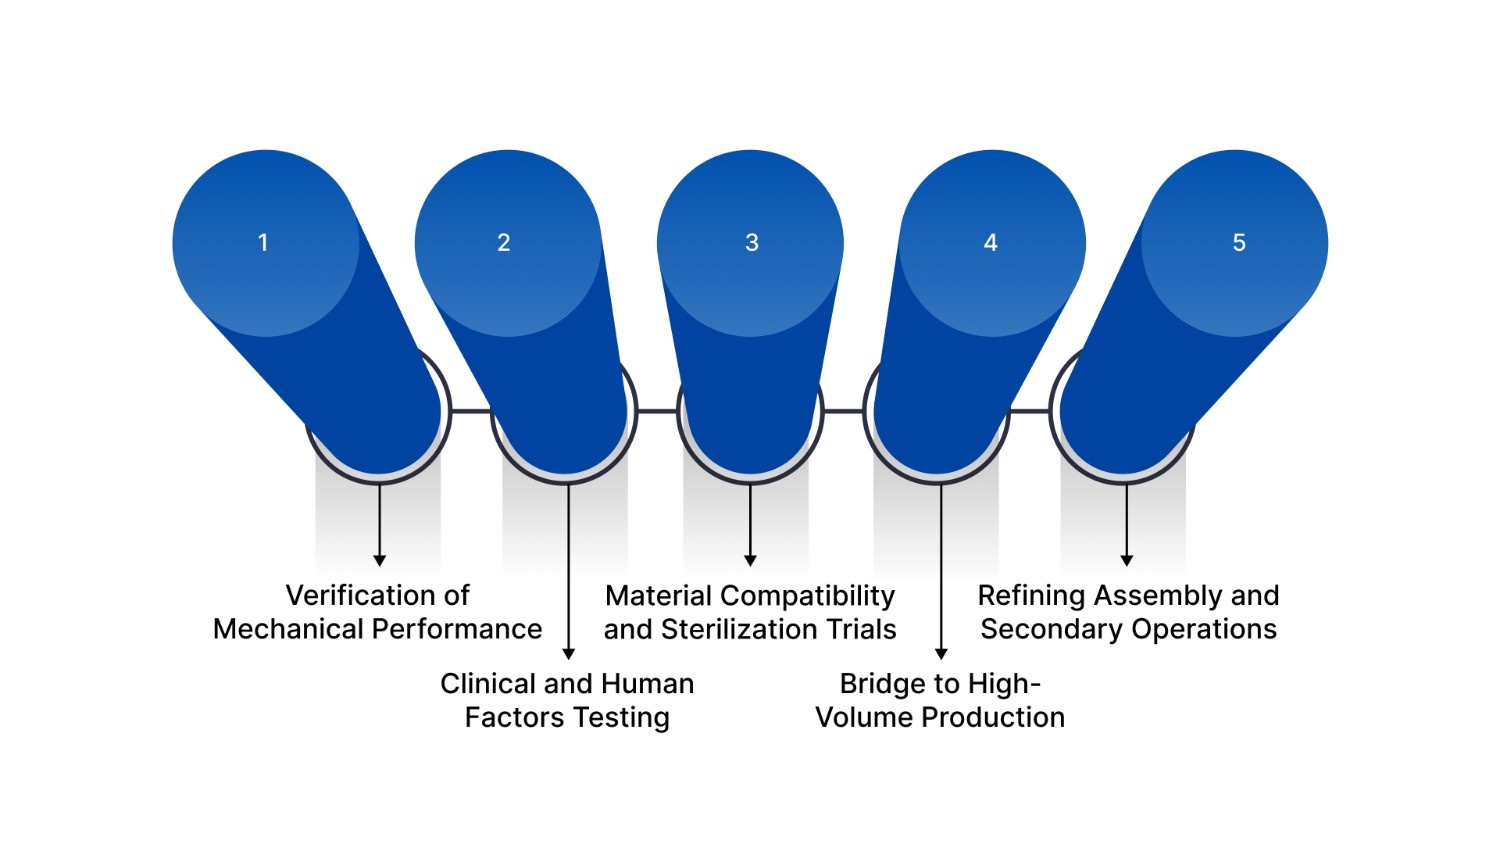
The strategic use of prototype injection molding serves multiple functions, each aimed at reducing risk and ensuring the safety of the end-user. Here are the five primary roles it plays in modern engineering:
1. Verification of Mechanical Performance
Medical devices are often subjected to significant mechanical loads. Whether it is a surgical handle that must not flex or a snap-fit connector that must survive thousands of cycles, the physical strength of the part is paramount.
Unlike additive manufacturing, which builds parts layer by layer, injection molding creates a solid, isotropic structure. This allows engineers to perform destructive testing, tensile testing, and fatigue analysis that accurately predict how the production part will perform in a clinical setting.
2. Clinical and Human Factors Testing
In the US, the user experience is a critical component of regulatory approval. A prototype must feel right in a surgeon's hand or be easy for a patient to operate at home. Medical prototype injection molding produces parts with the final surface finish, weight, and balance.
This allows for legitimate human factors studies where participants use functional devices, providing feedback that is far more valuable than feedback based on a non-functional model.
3. Material Compatibility and Sterilization Trials
The medical field uses a wide array of sterilization methods, including steam autoclaving, gamma radiation, and ethylene oxide gas. Each of these can interact with polymers in different ways, potentially causing brittleness, discoloration, or chemical leaching.
By molding prototypes in the final intended resin, developers can put the parts through multiple sterilization cycles to ensure they maintain their dimensional stability and biocompatibility.
4. Bridge to High-Volume Production
Often, there is a need for several thousand parts for market evaluation or clinical trials before the expensive, multi-cavity production tool is ready. This is where bridge tooling shines.
It uses the principles of injection molding engineering to create a tool quickly, providing enough parts to keep the project moving forward without waiting months for a hardened steel mold to be completed.
5. Refining Assembly and Secondary Operations
Modern medical devices are rarely a single part. They often involve complex assemblies, overmolding, or ultrasonic welding. Molded prototypes allow for the testing of these secondary processes.
For example, if two parts need to be welded together, the molded prototypes will provide the exact joint geometry and material flow characteristics needed to validate the welding equipment and parameters.
Selecting the right polymer is perhaps the most significant decision in the entire prototyping process.
Material Selection for Medical Prototypes
The selection of resins for medical prototype injection molding is governed by the functional requirements of the device and the level of patient contact.
In 2026, the industry has standardized around high-performance polymers that offer a combination of strength and safety.
Biocompatibility and Regulatory Standards
Every material used in a medical prototype must be evaluated against standards like ISO 10993 or USP Class VI. These standards ensure that the plastic does not cause a toxic, inflammatory, or immune response when it comes into contact with human skin, blood, or tissue.
When prototyping, it is vital to use certified resins that come with a certificate of analysis to maintain a clear trail of documentation for federal auditors.
High-Performance Medical Resins
PEEK (Polyetheretherketone): A premier choice for implants and surgical instruments. It is exceptionally strong, can be sterilized repeatedly without losing properties, and is chemically inert.
Polycarbonate (PC): Known for its high impact resistance and optical clarity, making it ideal for fluid delivery systems and diagnostic housings.
Ultem (PEI): Offers incredible heat resistance and is frequently used for reusable surgical tools that undergo frequent steam sterilization.
Medical-Grade Polypropylene (PP): A cost-effective material with high chemical resistance, often used for disposable labware and syringe components.
Liquid Silicone Rubber (LSR): Used for parts that require flexibility and skin compatibility, such as seals, gaskets, or wearable device interfaces.
Environmental Stress Crack Resistance
Medical parts are frequently exposed to harsh cleaning agents. Material selection must account for environmental stress cracking, which occurs when a plastic is under mechanical stress and exposed to a chemical.
Testing this with molded prototypes is the only way to ensure a device housing won't crack after a few weeks of use in a hospital environment.
Suggested Read: Frequently Asked Questions About Medical Resins
Engineering for the healthcare sector requires a level of precision that goes beyond standard industrial manufacturing.
Advanced Injection Molding Engineering for Healthcare
The technical demands of medical devices require a sophisticated approach to injection molding engineering. This involves not just making a part, but controlling every variable of the process to ensure total consistency.
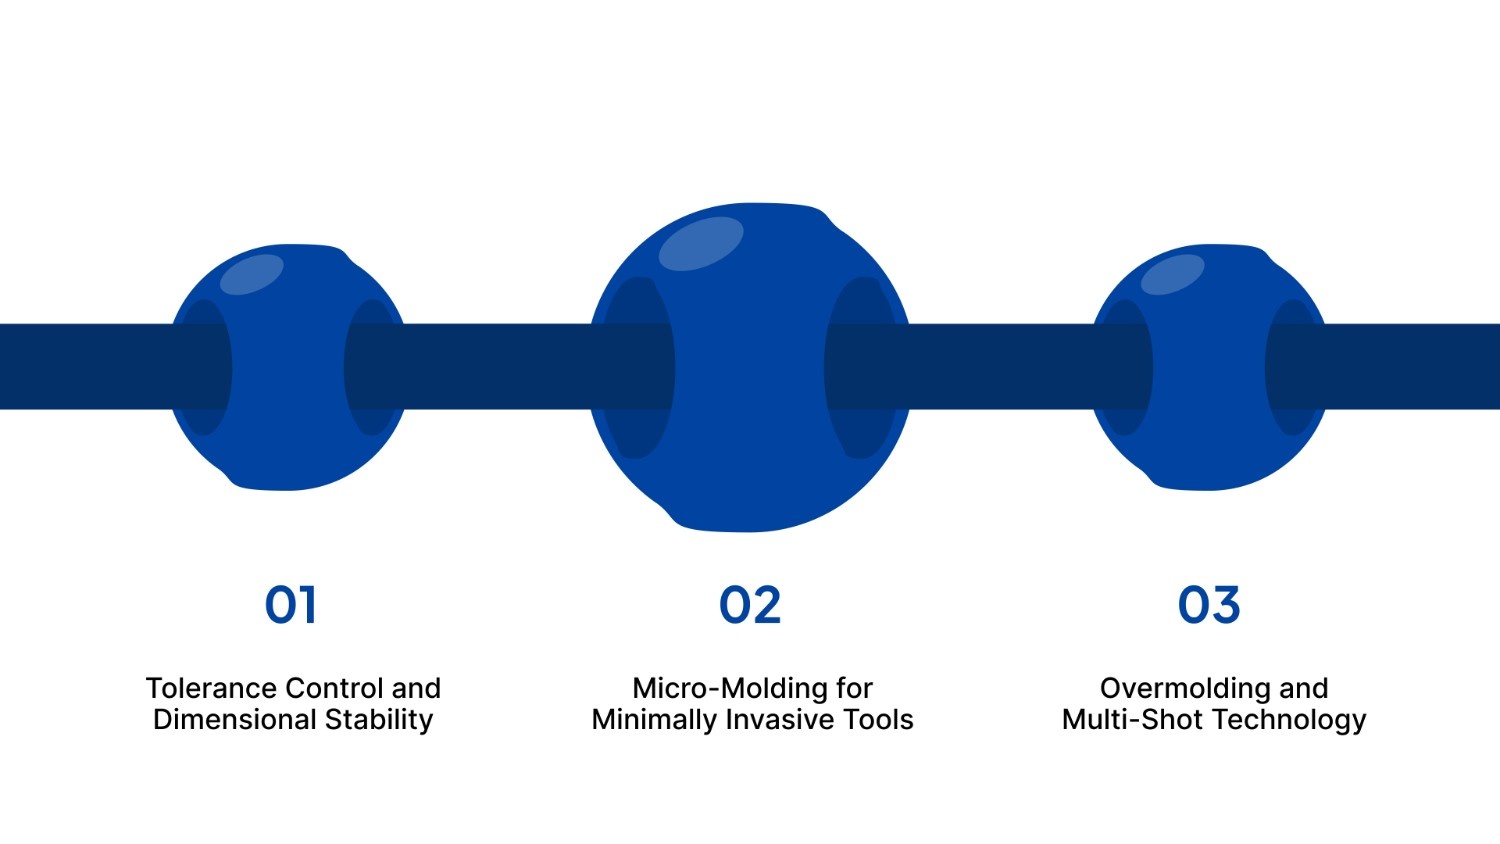
Tolerance Control and Dimensional Stability
In the medical world, a variation of a few thousandths of an inch can be the difference between a successful surgical outcome and a device failure. Advanced engineering involves calculating the precise shrinkage of the material as it cools.
Since every polymer shrinks at a different rate, the mold must be designed slightly larger than the final part. Engineers use thermal analysis to predict how the part will behave, ensuring that critical dimensions remain within the required limits.
Micro-Molding for Minimally Invasive Tools
As surgical techniques move toward smaller incisions, the components used in those tools have shrunk. Micro-molding is the process of creating extremely small, high-precision parts, often with features that are barely visible to the naked eye.
This requires specialized molding machines and tooling capable of handling microscopic shots of plastic with extreme accuracy.
Overmolding and Multi-Shot Technology
Many medical devices require a combination of a rigid substrate for structural integrity and a soft-touch exterior for grip or sealing. Overmolding is a technique where one material is molded over another.
In medical prototype injection molding, this tests the bond between the two materials and ensures they will not delaminate during use. This is particularly common in handheld surgical instruments and wearable diagnostic sensors.
A part is only as good as its design. Following a strict set of rules is the best way to ensure a smooth prototyping phase.
The Essential Injection Molding Design Guide for Medical Parts
A comprehensive injection molding design guide is the most valuable tool an engineer can have. By designing for the process from day one, you can eliminate common defects and reduce the overall cost of development.
Maintaining Uniform Wall Thickness
One of the most important rules in injection molding engineering is to keep wall thicknesses as consistent as possible. When a part has thick and thin sections, the thick areas cool more slowly, which can lead to thermal depressions or internal voids.
If a design requires a thick section for strength, it is better to use ribs to provide rigidity while keeping the nominal wall thickness consistent.
Incorporating Proper Draft Angles
A draft is a slight taper applied to the vertical walls of a part to help it slide out of the mold easily. Without a draft, the part can stick to the metal walls, causing surface damage or even breaking the part during ejection.
For most medical parts, a draft of one to two degrees is standard, though textured surfaces may require significantly more to prevent scuffing.
Radius and Fillet Implementation
Sharp internal corners are points of high stress. In medical applications, where parts may be subjected to sudden impacts or high internal pressures, these sharp corners can lead to cracks.
Adding a radius or fillet to every corner redistributes the stress and improves the flow of the molten plastic into the cavity, resulting in a stronger, more reliable part.
Gate Location Strategy
The gate is the point where the plastic enters the mold cavity. Its location is critical because it leaves a small mark on the part and influences how the material fills the space.
For medical parts, gates should be placed away from aesthetic surfaces and functional areas like fluid channels or seal interfaces.
Also Read: Meet the Experts Behind Your Prototype
The choice of tooling strategy depends on the goals of the prototyping phase.
Tooling Strategies: Balancing Speed and Precision
When starting a project in medical prototype injection molding, the type of tool you choose will dictate the speed and cost of the project.
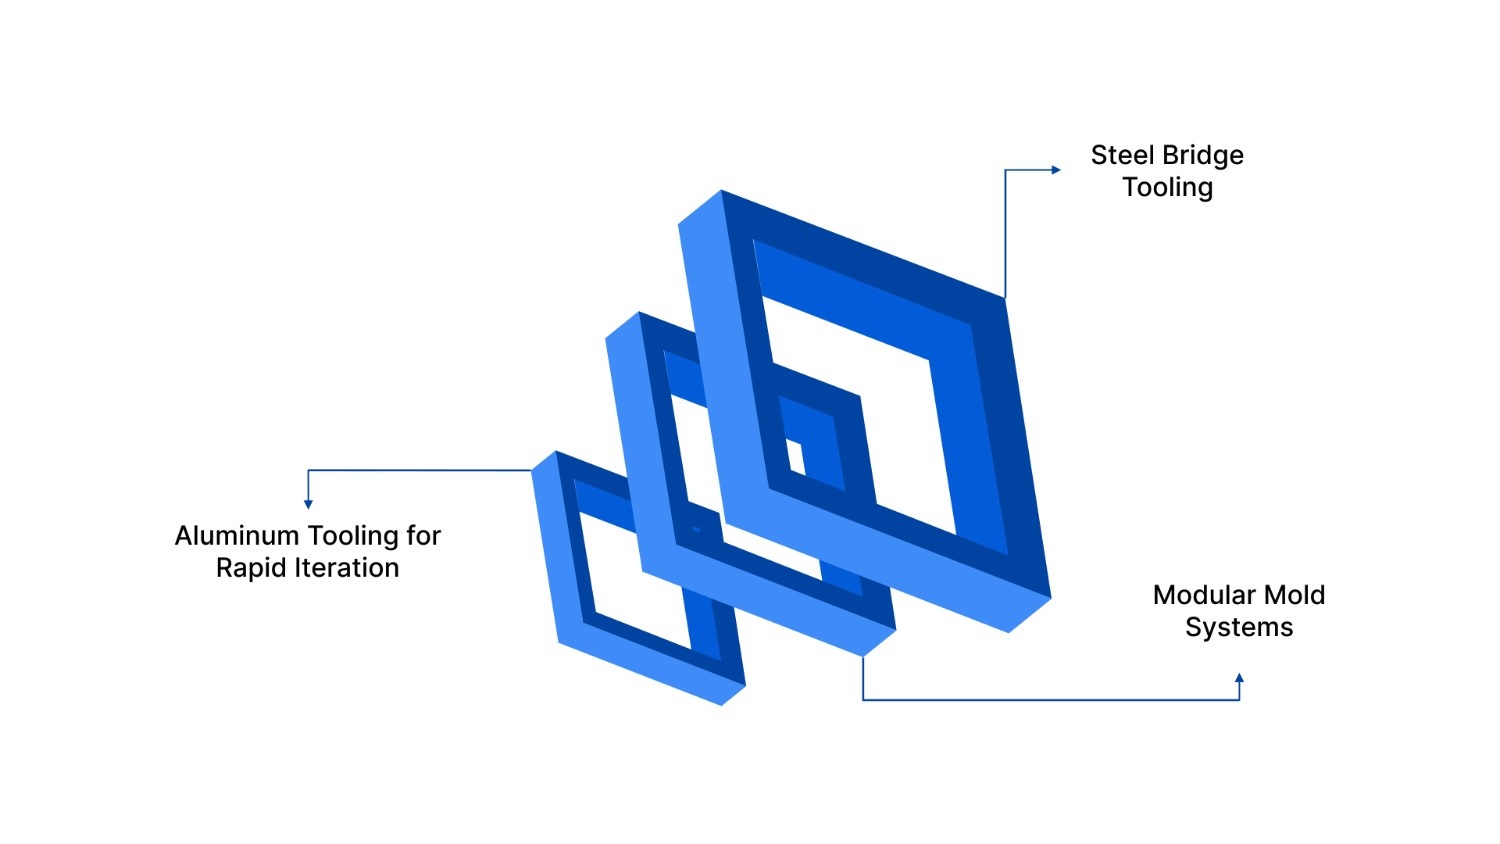
Aluminum Tooling for Rapid Iteration
For early-stage prototypes where the design might change, aluminum is often the preferred material. It is much faster to machine than steel, allowing for parts to be produced in a matter of weeks.
Aluminum also dissipates heat very quickly, which can lead to faster cycle times. While aluminum tools are not as durable as steel, they are perfect for producing the initial few thousand parts needed for testing and validation.
Steel Bridge Tooling
If the project requires a higher volume of parts, perhaps for an extensive clinical trial, a soft steel tool may be used. These tools provide a higher level of precision and durability than aluminum while still being faster to produce than a full-scale hardened steel production mold.
This is an excellent strategy for bridge production, allowing a company to start generating revenue while the high-volume tools are being built.
Modular Mold Systems
Many manufacturers use a Master Unit Die system, which consists of a standard frame that holds interchangeable mold inserts. This allows the engineer to only pay for the custom cavity inserts rather than an entire mold base.
It is a highly efficient way to manage prototype injection molding costs, especially for smaller components.
Medical parts require a manufacturing environment that matches the cleanliness of the clinical setting.
Cleanroom Standards and Secondary Operations
The environment in which a prototype is molded is just as important as the molding process itself. Most medical components must be produced in a controlled environment to prevent contamination from dust, oils, or airborne particles.
ISO Class 7 and 8 Cleanrooms
Medical molding facilities typically operate under ISO Class 7 or 8 cleanroom standards. These rooms feature high-efficiency particulate air filtration and strict gowning requirements for all personnel.
Producing medical prototype injection molding parts in a cleanroom is essential for any device that will come into contact with the sterile field of an operating room or be used for fluid delivery.
Essential Secondary Operations
Ultrasonic Welding: A clean and efficient way to bond two plastic parts using high-frequency vibrations. It is common in the assembly of diagnostic cassettes and filter housings.
Laser Marking: Used for adding permanent serial numbers or UDI (Unique Device Identification) codes to parts without the need for inks or labels.
Sterile Barrier Packaging: Once molded, prototypes must often be placed in specialized packaging that allows for sterilization while maintaining a barrier against microbes until the device is used.
View Our Portfolio: Molded Medical Parts Gallery
Conclusion
Navigating the transition from a medical concept to a market-ready device requires a commitment to technical precision.
Medical prototype injection molding serves as the definitive bridge in this process, providing the material authenticity and structural integrity that alternative methods cannot match.
By prioritizing rigorous injection molding engineering and adhering to a professional injection molding design guide, developers ensure their products withstand the demands of clinical environments.
In the healthcare landscape of 2026, these high-fidelity prototypes are not merely models; they are essential instruments for verifying patient safety and securing long-term manufacturing success.
Partner with Evok Polymers for Medical Excellence
Ready to move your medical project from a digital design to a functional, clinical-grade reality?
Request a Quote from Evok Polymers to receive a comprehensive engineering review and cost estimate. Let our US-based team provide the precision and material expertise your next healthcare innovation deserves.
Frequently Asked Questions (FAQs)
1. How does medical prototype injection molding compare to 3D printing for functional testing?
While 3D printing is excellent for checking the shape and size of a part, it cannot match the structural integrity of a molded component. Injection molding uses high pressure to create a dense, uniform part that reflects the actual mechanical properties of the chosen resin.
For medical devices that must be tested for strength, durability, or sterilization resistance, a molded prototype is the industry standard.
2. Is a cleanroom always necessary for medical prototypes?
A cleanroom is necessary if the part is intended for clinical use, comes into contact with the patient, or is a component of a fluid path.
However, for early-stage bench testing or devices like external monitor housings, standard controlled manufacturing may be sufficient. It is important to define the cleanliness requirements early in the project to ensure proper facility selection.
3. How long does the prototype injection molding process typically take?
For most projects, the time from a finalized CAD design to the first parts in hand is between two and four weeks. This includes the engineering review, mold design, tool fabrication, and the initial sampling run.
Using advanced CNC technology and modular tooling systems has significantly reduced these timelines in recent years.
4. Can prototype tools be used for small-scale production?
Yes. This is often referred to as bridge tooling. A well-designed prototype tool, especially one made from high-quality aluminum or soft steel, can easily produce several thousand parts.
This allows companies to launch a product or conduct extensive clinical trials while the permanent, high-volume production tools are still being manufactured.
5. How do you ensure the biocompatibility of a molded prototype?
Ensuring biocompatibility starts with resin selection. We only use materials from suppliers who provide full traceability and documentation certifying that the resin meets ISO 10993 or USP Class VI standards.
Additionally, molding in a cleanroom environment prevents external contaminants from compromising the safety of the plastic.