Bringing a new product to market often stalls between design approval and production readiness. CAD models may look perfect, but unseen issues with geometry, material behavior, or manufacturability can lead to costly tooling changes and delays once production begins.
This is where prototype product development becomes essential. By creating and testing physical iterations early, teams can identify design flaws, validate performance, and refine the part for injection molding, reducing risk, saving cost, and ensuring a smoother transition from concept to full-scale manufacturing.
Key Takeaways
Catching a design flaw in a 3D-printed prototype costs pennies compared to the thousands of dollars required to modify a production injection mold.
Prototyping allows you to test different resin families like ABS, Polypropylene, or Nylon, under real-world mechanical and thermal stress.
Using product development prototyping helps identify thin walls, improper draft angles, or gate placements that could cause defects like sink or warp in mass production.
Tangible models facilitate better communication between engineering and purchasing, ensuring everyone is aligned on the should-cost and feasibility.
Rapid tooling or aluminum molds can bridge the gap between initial prototypes and high-volume production, providing thousands of parts for final validation.
The Strategic Role of Prototyping During Product Development
Success in modern manufacturing is rarely a linear path. Prototyping during product development acts as a cyclical feedback loop where designs are continuously refined based on physical performance.
A product development prototype serves three primary functions: visualization, functional testing, and manufacturability validation. Early in the cycle, a prototype might just be a low-fidelity model used to check ergonomics and aesthetics.
As the project progresses, the fidelity increases, leading to functional prototypes that must withstand the same environmental stresses as the final product.
The real magic happens when prototyping meets Design for Manufacturability (DFM). By creating physical parts early, engineers can spot issues that digital simulations might miss, such as how a specific texture interacts with a chosen polymer or how a living hinge performs over thousands of cycles.
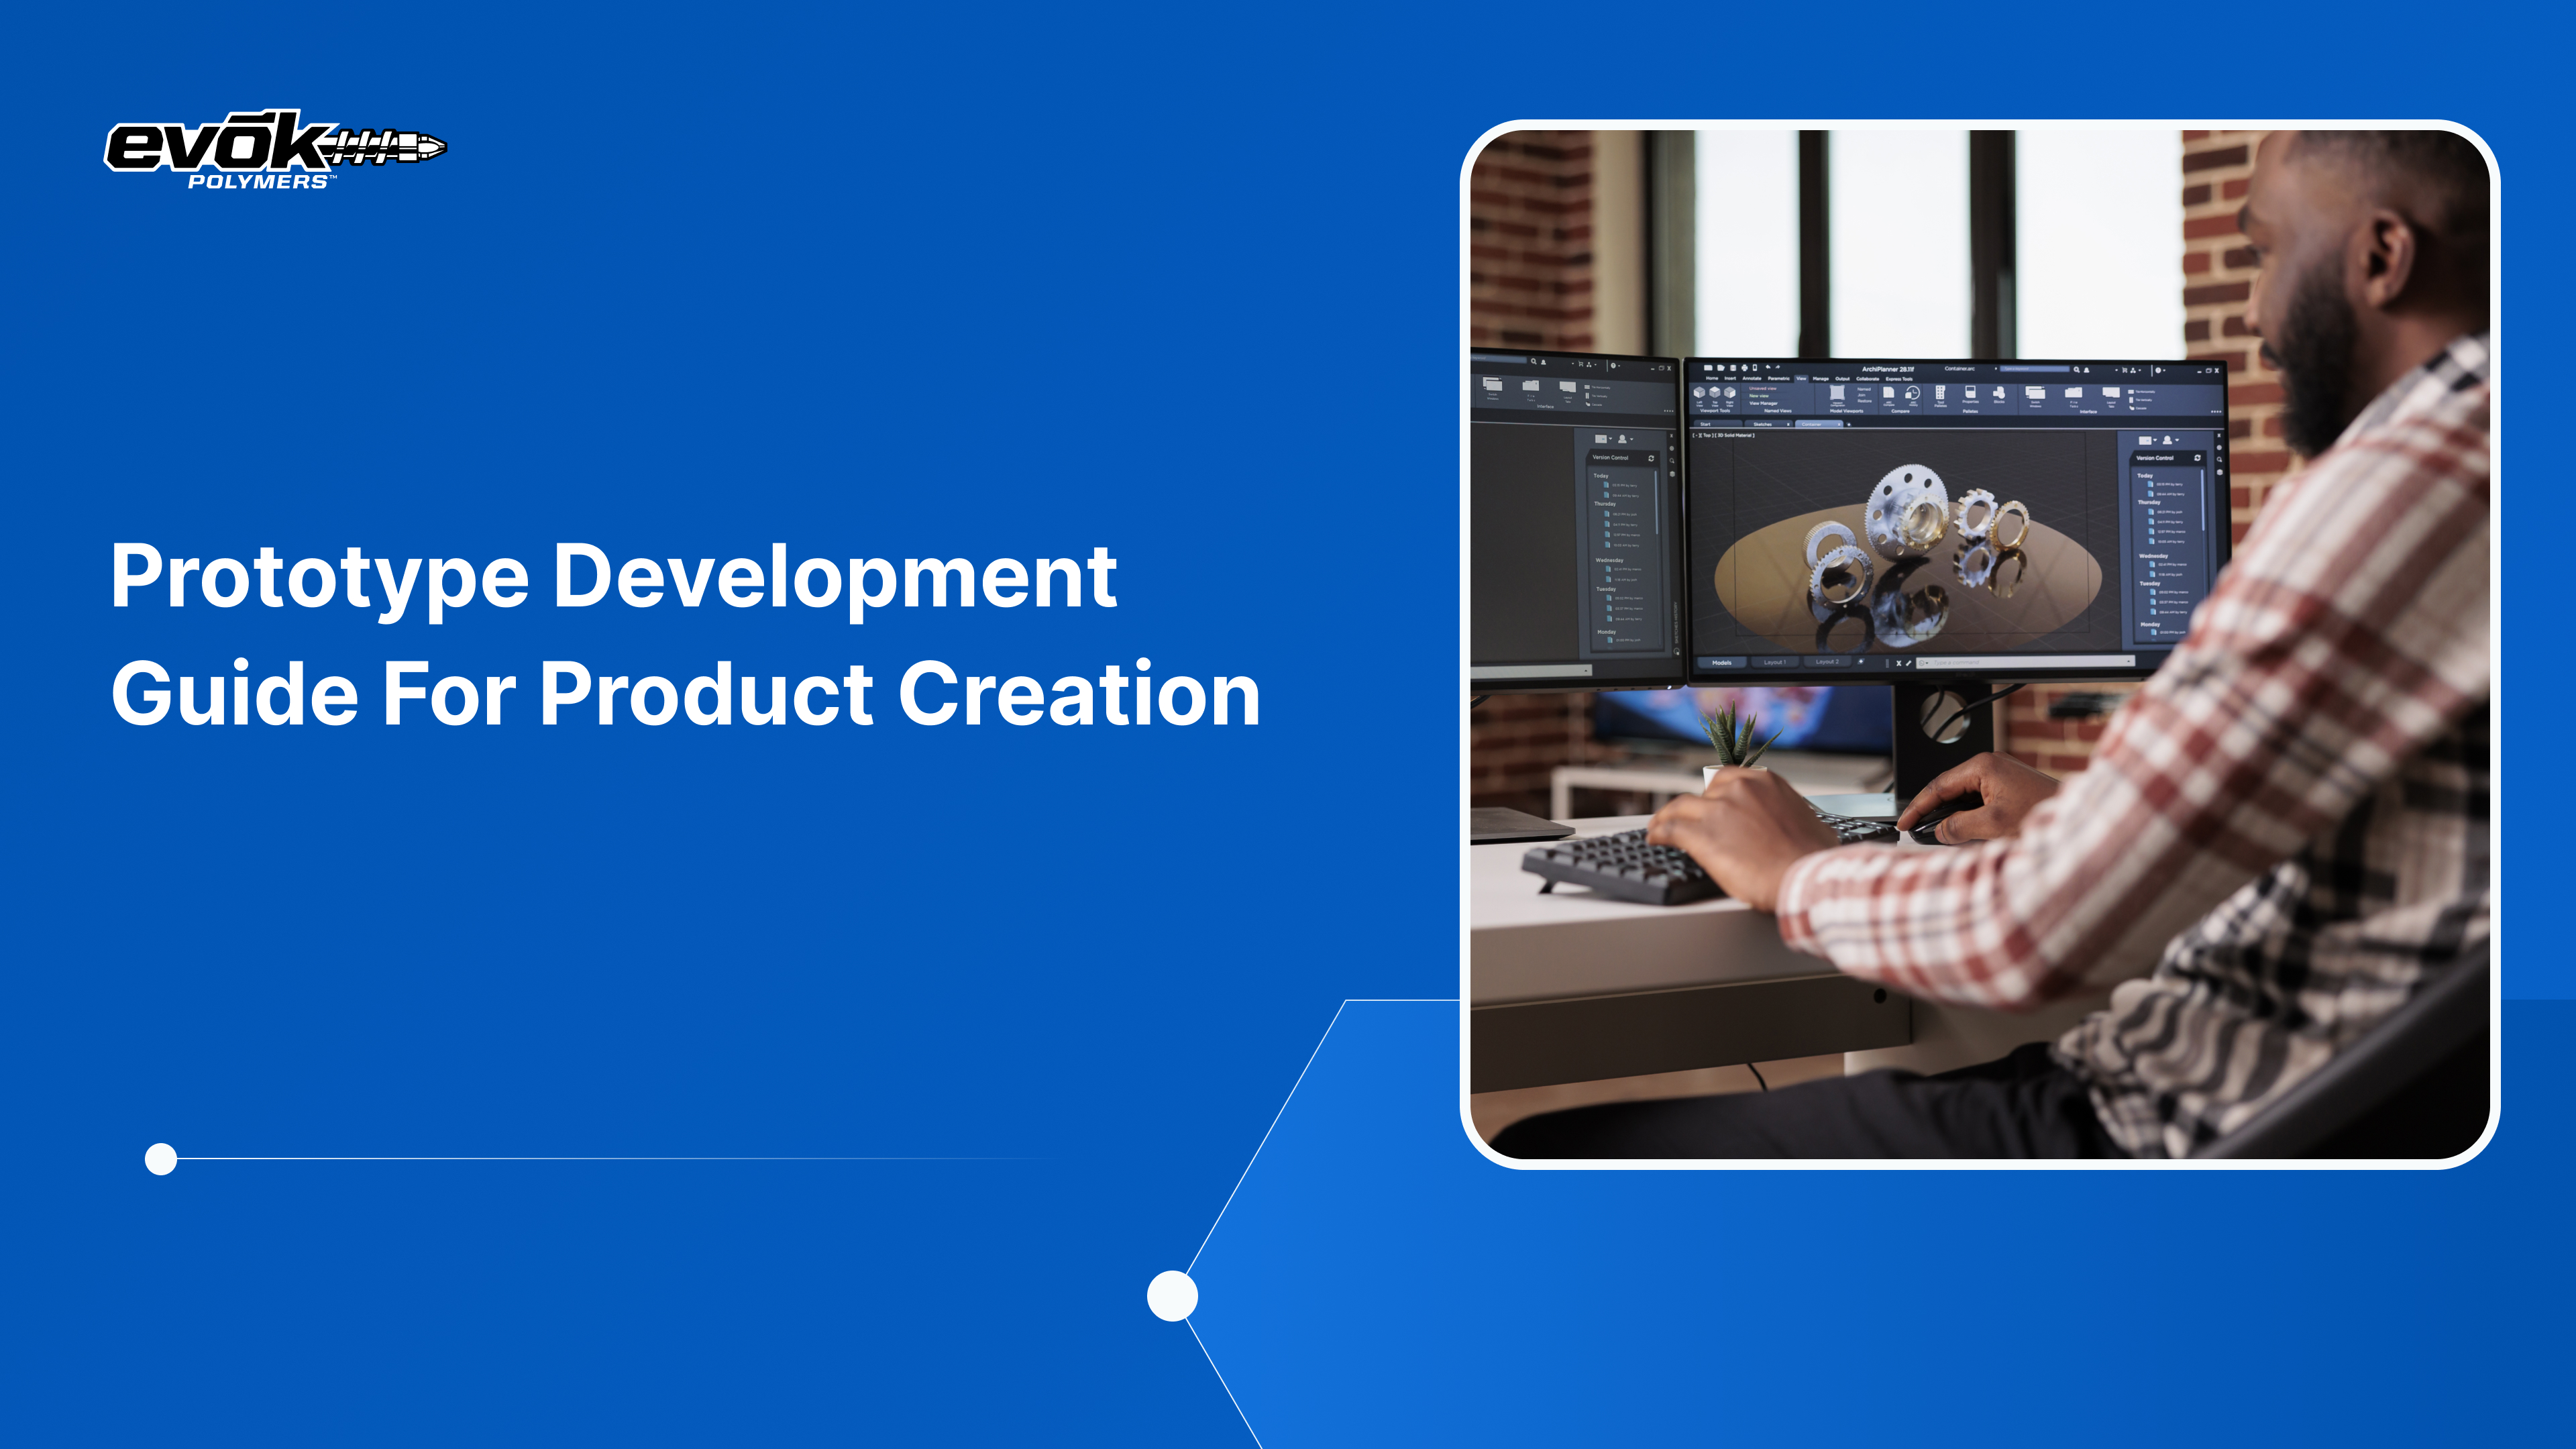
7 Essential Stages of the Prototype Development Lifecycle
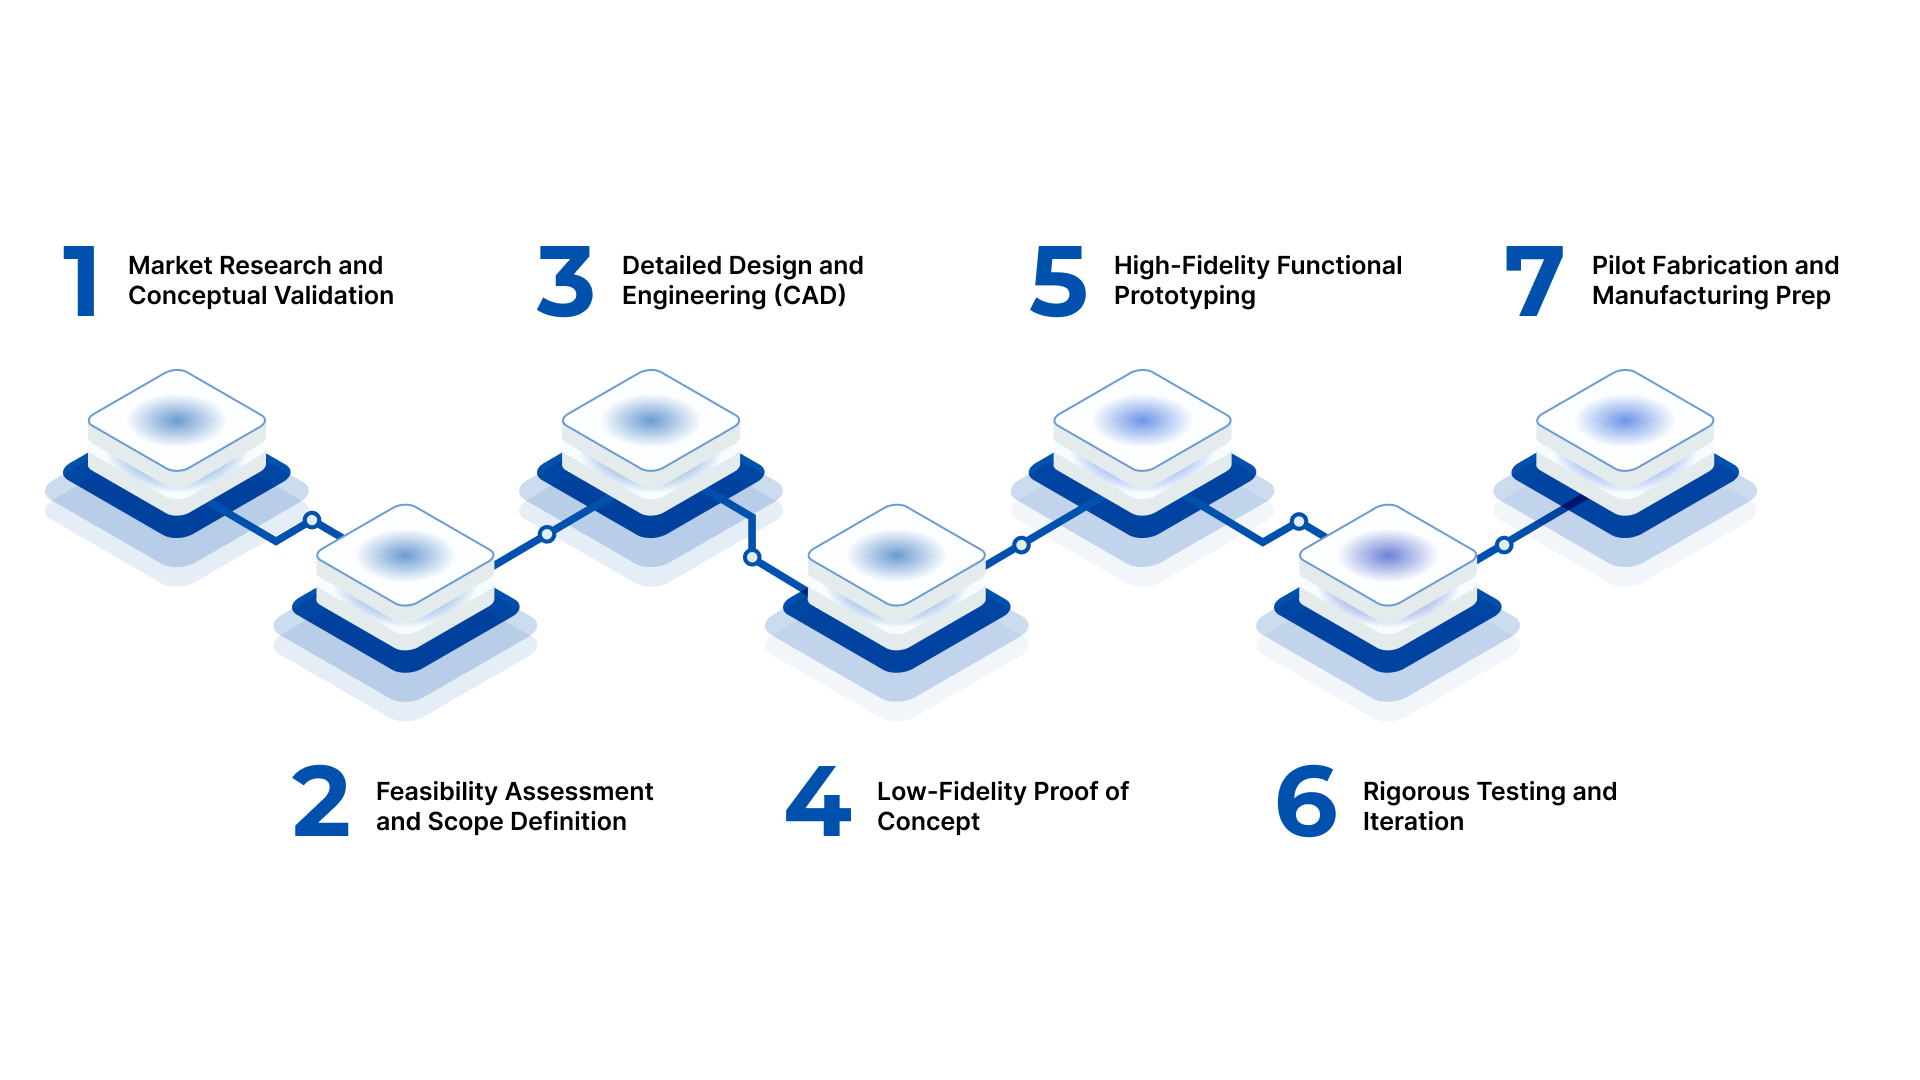
To transform a concept into a scalable manufactured part, you need a structured workflow. The following stages represent the industry standard for taking a project from the drawing board to the factory floor.
1. Market Research and Conceptual Validation
Every prototype product development journey starts with identifying a problem. Before any CAD work begins, you must define the target audience and their pain points. This stage involves researching existing patents and competitor products to ensure your solution is unique.
Establishing clear performance targets, such as heat resistance, impact strength, or chemical exposure, is vital here to guide your eventual material selection.
2. Feasibility Assessment and Scope Definition
Once the concept is defined, it is time to ask: Can we actually build this? This phase involves a high-level feasibility analysis using tools like Polyestimator to check expected unit costs and lead times.
You define the technical requirements, assembly methods, and regulatory standards the product must meet. This prevents scope creep and keeps the engineering and purchasing teams aligned from the start.
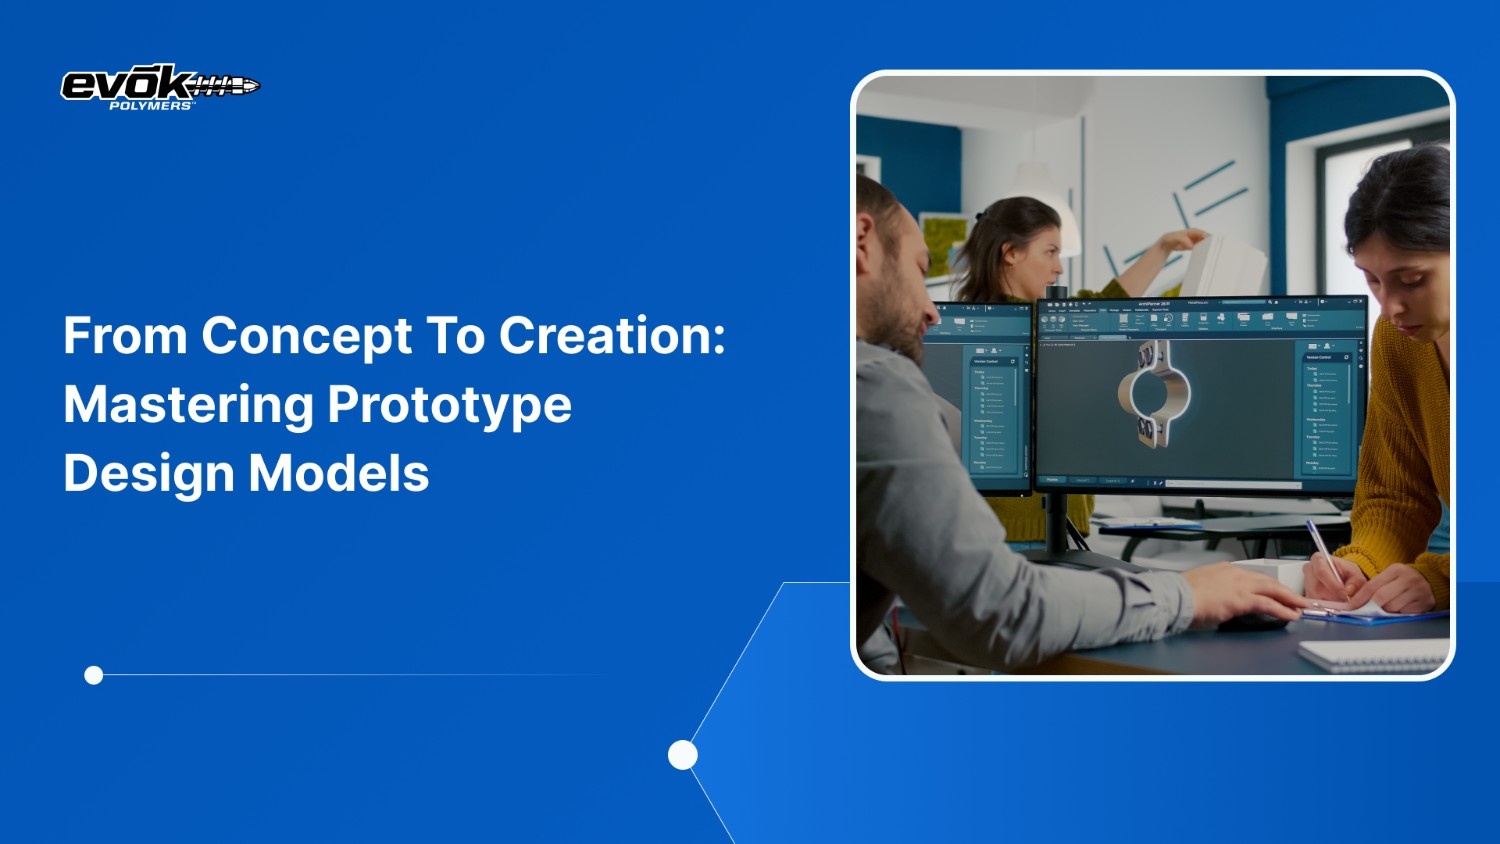
3. Detailed Design and Engineering (CAD)
The transition from a rough sketch to a precise 3D model happens here. Using CAD software, engineers build out the geometry, wall thicknesses, and internal ribs. This is also where Design for Manufacturability (DFM) first enters the frame.
Virtual simulations, such as mold-flow analysis, help predict how the part will behave during the injection process, allowing you to fix potential defects like air traps or weld lines digitally.
4. Low-Fidelity Proof of Concept
The first physical product development prototype is often a low-fidelity model. Using rapid prototyping methods like FDM or SLA 3D printing, you can create a physical version of your design in hours. These models are used to verify the basic form, fit, and ergonomics.
It is much easier to hold a part in your hand and realize a button is too small than it is to see that flaw on a computer screen.
5. High-Fidelity Functional Prototyping
Once the form is validated, the focus shifts to function. High-fidelity prototypes are built using materials that closely mimic production resins. CNC machining a part from a solid block of the intended polymer allows you to perform real-world mechanical testing.
This stage validates whether the part can handle the intended load cases, thermal stresses, and environmental conditions without failing.
6. Rigorous Testing and Iteration
Testing is not a one-time event but a repetitive process. Functional prototypes undergo stress tests, drop tests, and usability trials. If a snap-fit fails or a hinge cracks, you return to the design stage, update the CAD, and produce a new iteration.
The goal is to fail fast and fail cheaply during the product development prototyping phase rather than after thousands of dollars have been spent on steel tooling.
7. Pilot Fabrication and Manufacturing Prep
The final stage is the bridge to mass production. This often involves creating a bridge mold (rapid tooling) using aluminum or P-20 steel to produce a pilot run of parts. These parts are used for first-article qualification and final marketing samples.
This phase also includes finalizing the Bill of Materials (BOM) and setting up the quality inspection plans that will be used during full-scale production.
Navigating these stages effectively requires selecting the right fabrication technology for each level of fidelity.
Prototyping Methods and Technology Selection
Not every prototype requires the same level of precision or material strength. Understanding the various methods available for product development prototyping ensures you don't overspend on early models or underspecify critical functional tests.
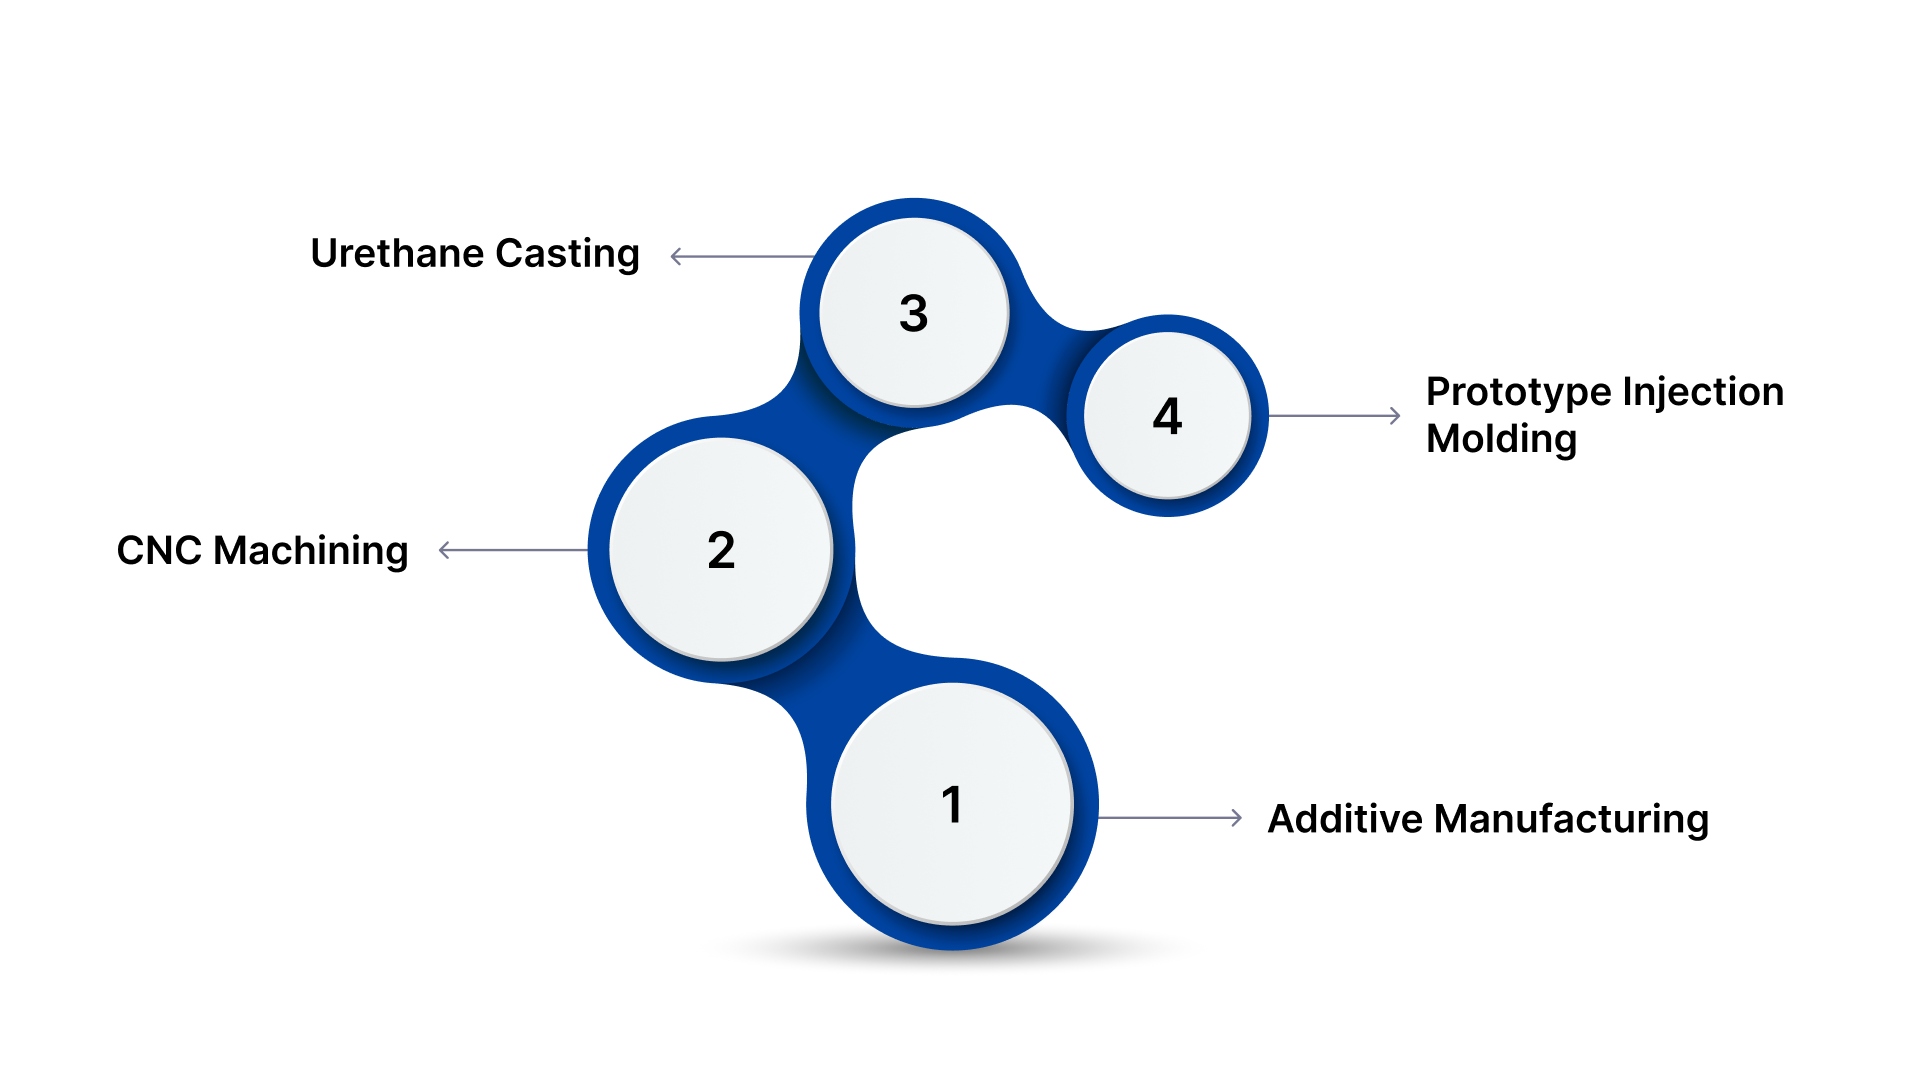
Additive Manufacturing (3D Printing)
This is the cornerstone of rapid prototyping. It is unrivaled for complexity and speed.
SLA (Stereolithography): Uses a UV laser to harden liquid resin. Best for high-detail, cosmetic parts with smooth finishes.
FDM (Fused Deposition Modeling): Extrudes thermoplastic filament. Great for low-cost, durable parts that need to be handled.
SLS (Selective Laser Sintering): Sinters powdered material with a laser. Ideal for functional parts with complex geometries that do not require support structures.
CNC Machining
CNC machining is a subtractive process where a block of material is cut away to form the part. The primary advantage of a CNC-machined product development prototype is material authenticity. You can machine a part from the exact same polycarbonate or nylon that will be used in the final injection molded part, providing the most accurate mechanical data possible.
Urethane Casting
This involves creating a 3D-printed master pattern and then forming a silicone mold around it. Urethane resins are then cast into the mold. This method is excellent for small batches (10–50 parts) that require production-like finishes and color matching without the cost of metal tooling.
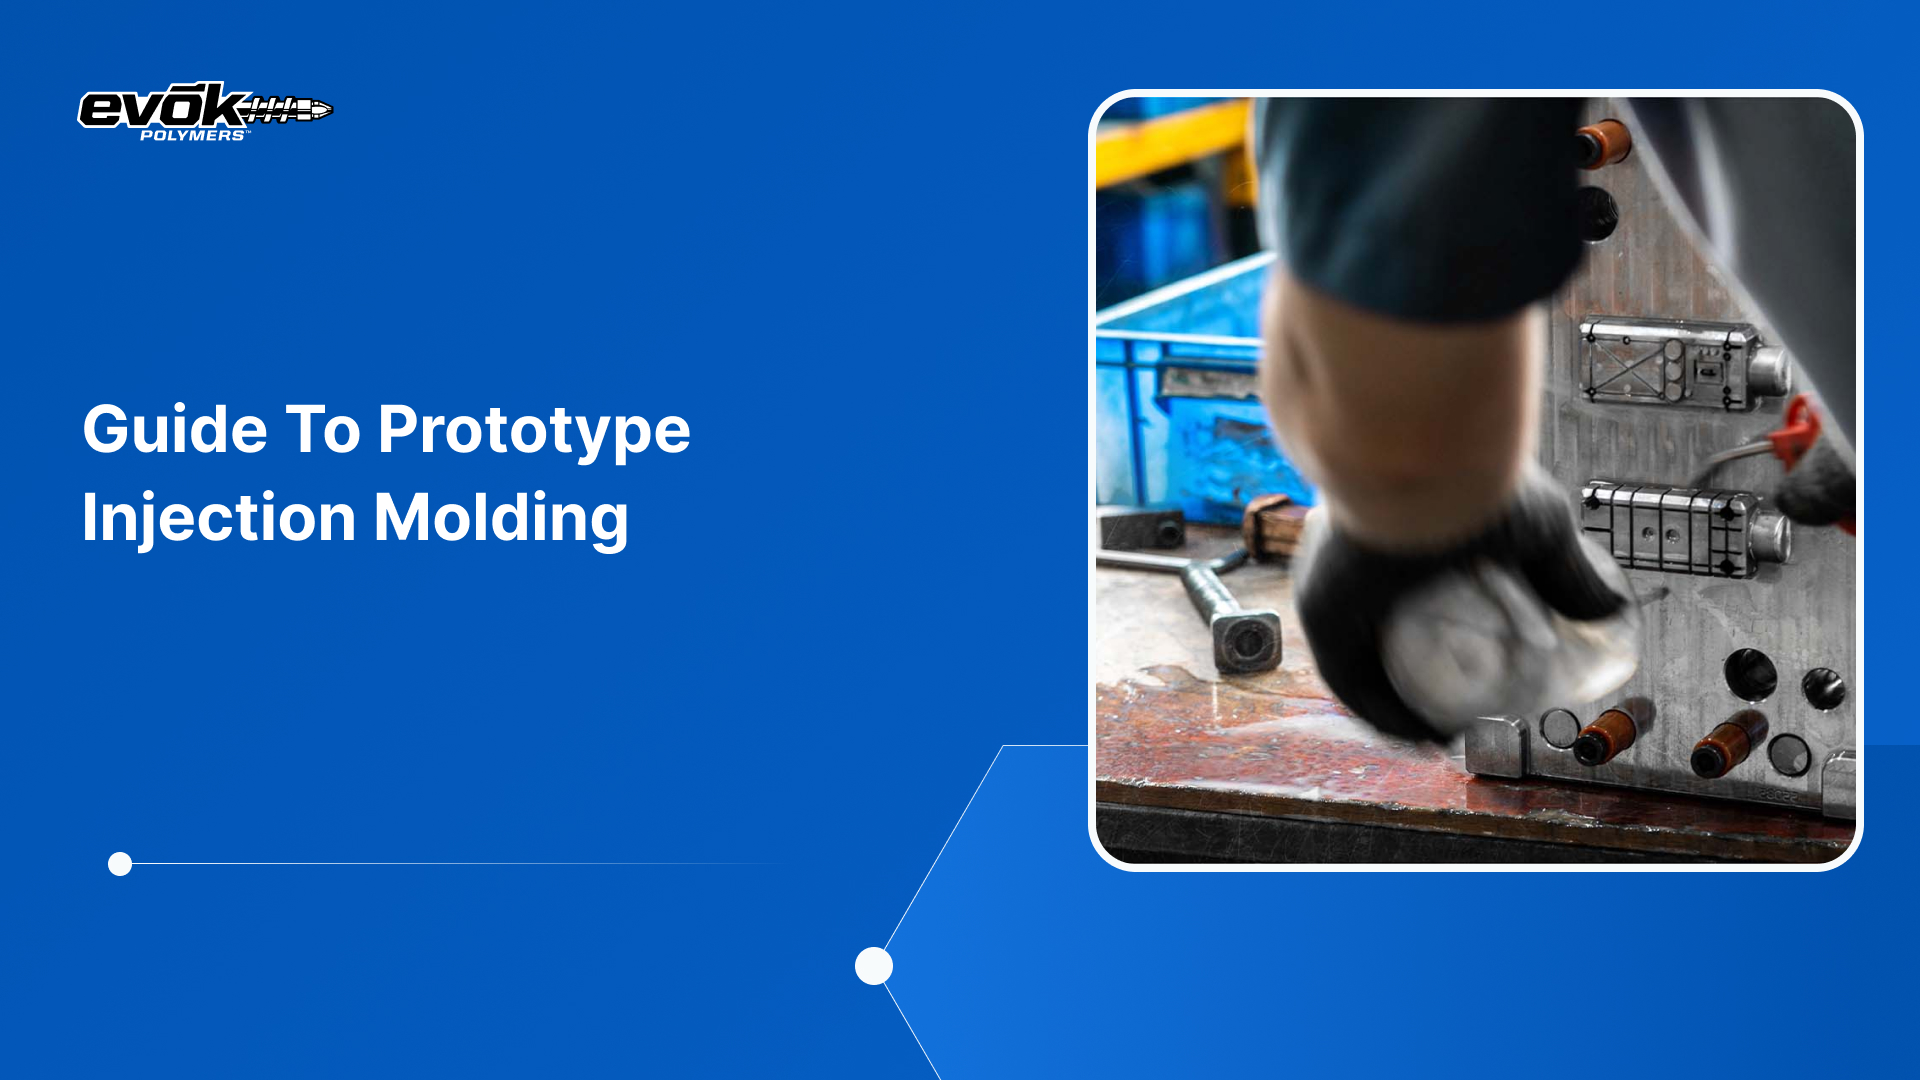
Prototype Injection Molding
When you need real parts made under real conditions, prototype injection molding is the answer. By using softer metals like aluminum for the mold, you can get parts in 1–2 weeks rather than the 8–12 weeks required for production steel. This is the ultimate test of both the part design and the molding process itself.
Conclusion
Mastering prototype product development is about more than just making a sample; it is about creating a roadmap for manufacturing success. By utilizing a mix of 3D printing, CNC machining, and rapid tooling, US-based product companies can de-risk their projects and bring higher-quality plastic components to market faster.
At the heart of this process is the ability to bridge the gap between an engineer's vision and the purchasing department's budget.
Partner with Evok Polymers for Seamless Product Creation
At Evok Polymers, we are more than a manufacturer; we are your design and development partner. From the first CAD upload to the final high-volume production run, we provide the engineering depth and transparency you need to succeed.
Why Leading Product Teams Choose Evok:
Polyestimator Integration: Get instant cost and timeline inputs while you are still in the prototyping phase.
DFM Expertise: Our team analyzes your part prints and models to ensure smooth mold ejection and defect-free production.
End-to-End Support: We manage the entire lifecycle, part design, material selection, tool fabrication, and first-article qualification.
Ready to turn your concept into a production-ready reality?
Request a Quote from Evok Polymers today and see how our prototyping expertise can accelerate your product launch.
Frequently Asked Questions (FAQs)
1. Why is prototyping important in plastic product development?
Prototyping is essential because it identifies design flaws like sink marks, warp, or interference—before you invest in expensive production molds. It reduces financial risk and ensures the final product meets functional and cosmetic standards.
2. Can a 3D-printed prototype accurately mimic an injection-molded part?
While 3D printing is great for form and fit, it often has different mechanical properties due to its layered construction. For accurate stress or heat testing, a CNC-machined prototype or a pilot run from a prototype mold is recommended.
3. How many iterations are typically needed in prototype product development?
Most successful products go through at least 3 to 5 iterations. These usually move from a simple concept model to a functional prototype, and finally to a pre-production part used for quality validation.
4. Does Evok Polymers support prototyping for complex geometries?
Yes. Evok Polymers provides engineering support and DFM analysis to ensure that even the most complex geometries are optimized for the intended manufacturing process, whether that is 3D printing or eventual high-volume molding.
5. How does the Polyestimator tool help with prototyping?
The Polyestimator tool provides instant feedback on how variables like material choice, cavitation, and cycle time will impact the final part cost. This allows engineers to make cost-conscious design decisions during the earliest prototyping stages.